

On Farm Up: How Do I Disinfect
Why On-Farm Disinfection Matters
Running a farm is not just about feeding animals and harvesting crops. It also means fighting invisible enemies every single day. Bacteria, viruses, and fungi hide everywhere. They live on boots, tools, and even in the air.
We learned this the hard way. One small outbreak can spread fast. It can wipe out weeks of hard work in just 24 hours. That’s why cleaning and disinfection are not optional. It is survival.
Good hygiene protects:
Animal health
Worker safety
Product quality
Farm profits
When we take control of hygiene, we take control of the farm.
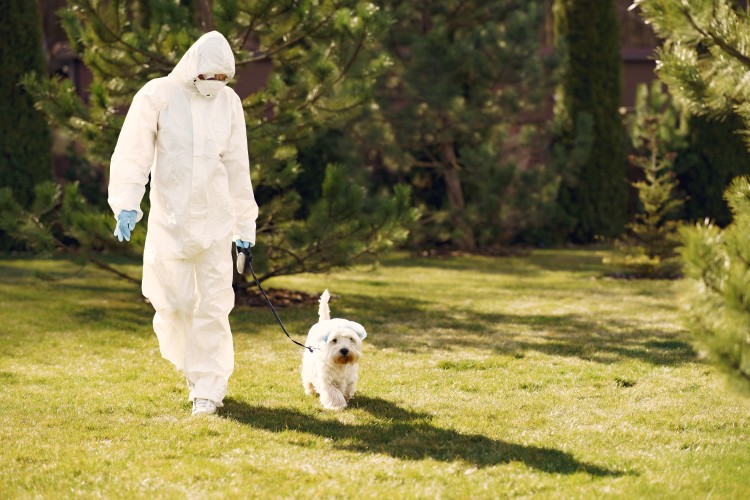
What Does “On Farm Up How Do I Disinfect” Really Mean?
This question sounds simple, but it has layers. When we ask On Farm Up: How Do I Disinfect, we really ask:
What should we clean first?
Which disinfectant works best?
How strong should it be?
How long should we wait?
Disinfection is not just spraying liquid everywhere. It is a step-by-step process. Each step matters.
Step 1: Start With Proper Cleaning
Before we disinfect, we must clean. Always.
Remove Organic Matter First
Dirt, manure, and feed block disinfectants. They act like shields for bacteria. If we skip cleaning, we waste time and money.
We follow this simple routine:
Scrape surfaces
Wash with water
Use detergent if needed
Rinse thoroughly
Clean surfaces allow disinfectants to work faster and better.
Focus on High-Risk Areas
Some areas carry more risk than others. We pay extra attention to:
Animal housing
Feeding equipment
Water lines
Transport vehicles
These spots spread disease quickly. A quick clean is not enough here.
Step 2: Choose the Right Disinfectant
Not all disinfectants are equal. Some kill bacteria only. Others work on viruses, too.
Why Hypochlorous Acid Works
We prefer hypochlorous acid, HOCl, because it is both strong and safe. It mimics what white blood cells produce naturally.
Key benefits:
Broad-spectrum action
Fast kill rate
Low toxicity
No harsh residue
It feels like using nature’s own weapon against germs.
Understanding Electrolyzed Water
Electrolyzed water creates HOCl using salt, water, and electricity. It sounds simple, but the results are powerful.
We use this method because:
It reduces chemical storage
It produces a fresh solution on-site
It ensures consistent quality
Fresh solution means better results every time.
Step 3: Get the Right Concentration
This is where many farms go wrong. Too weak, and it fails. Too strong, and it wastes resources.
What is 200 ppm?
We often use 200 ppm for general farm disinfection. ppm means parts per million.
It tells us how much active substance is in the solution.
At 200 ppm:
It kills most pathogens
It remains safe for surfaces
It works quickly
How to Calculate ppm
We keep it simple. To calculate ppm, we use this idea:
ppm = (amount of substance / total solution) × 1,000,000
Example:
200 ppm = 200 mg per liter
We double-check measurements. Small mistakes can reduce effectiveness.
Step 4: Apply the Disinfectant Correctly
Application matters just as much as the solution itself.
Cover All Surfaces
We aim for full coverage. Missed spots become safe zones for bacteria.
We use:
Sprayers
Fogging systems
Wiping tools
Each method fits different areas. For example, fogging works well in enclosed barns.
Pay Attention to Porous Surfaces
Porous surfaces like wood absorb liquid. This makes disinfection harder.
We handle them carefully:
Increase contact time
Apply more solution
Repeat treatment if needed
Sometimes, replacing porous materials is the best option.
Step 5: Respect Contact Time
This step is often ignored. Yet, it makes all the difference.
What Is Contact Time?
Contact time is how long the disinfectant stays wet on a surface. It needs time to kill pathogens.
For HOCl at 200 ppm:
Typical contact time: 1–5 minutes
If the surface dries too fast, the job is incomplete.
Tips to Maintain Contact Time
We use simple tricks:
Spray evenly
Avoid direct sunlight
Reapply if needed
Patience here saves trouble later.
Step 6: Build a Daily Routine
Consistency beats intensity. One deep clean per month is not enough.
Create a 24 Hour Hygiene Cycle
We break tasks into a 24-hour routine:
Morning:
Clean feeding areas
Disinfect tools
Afternoon:
Check water systems
Spot clean dirty zones
Evening:
Disinfect high-touch surfaces
Prepare for the next day
This rhythm keeps the farm under control.
Train the Team
Even the best plan fails without teamwork. We train every worker.
We focus on:
Proper dilution
Correct spraying
Safety awareness
When everyone understands the process, results improve fast.
Step 7: Monitor and Adjust
Farms change. Weather changes. Risks change.
Track Results
We observe:
Animal health
Odor levels
Disease outbreaks
If something feels off, we adjust immediately.
Improve Over Time
We test different methods and refine our process. Small improvements lead to big gains.
We ask ourselves:
Can we reduce waste?
Can we improve coverage?
Can we save time?
This mindset keeps us ahead.
Common Mistakes to Avoid
We made these mistakes before. You don’t have to.
Skipping cleaning before disinfection
Using the wrong ppm level
Ignoring contact time
Missing hidden areas
Overusing chemicals
Each mistake reduces effectiveness. Fixing them improves results quickly.
Why We Trust This Method
We have tried many solutions. Some worked. Some failed badly.
But this approach gives us:
Reliable disinfection
Lower costs
Safer working conditions
Peace of mind
It feels good to walk into a clean barn. It smells fresh. Animals look healthier. That alone tells us we are doing it right.
Final Thoughts
Disinfection is not complicated, but it requires discipline. When we follow the right steps, we see real results.
So next time you ask, On Farm Up How Do I Disinfect, remember this:
Clean first
Use the right solution
Control ppm
Respect contact time
Stay consistent
Simple steps. Powerful impact.
And yes, once you get used to it, it becomes second nature. Almost like brushing your teeth—but for your farm.